Knitting Pattern: Perfect Oven Mitt


Knitting Pattern: Perfect Oven Mitt
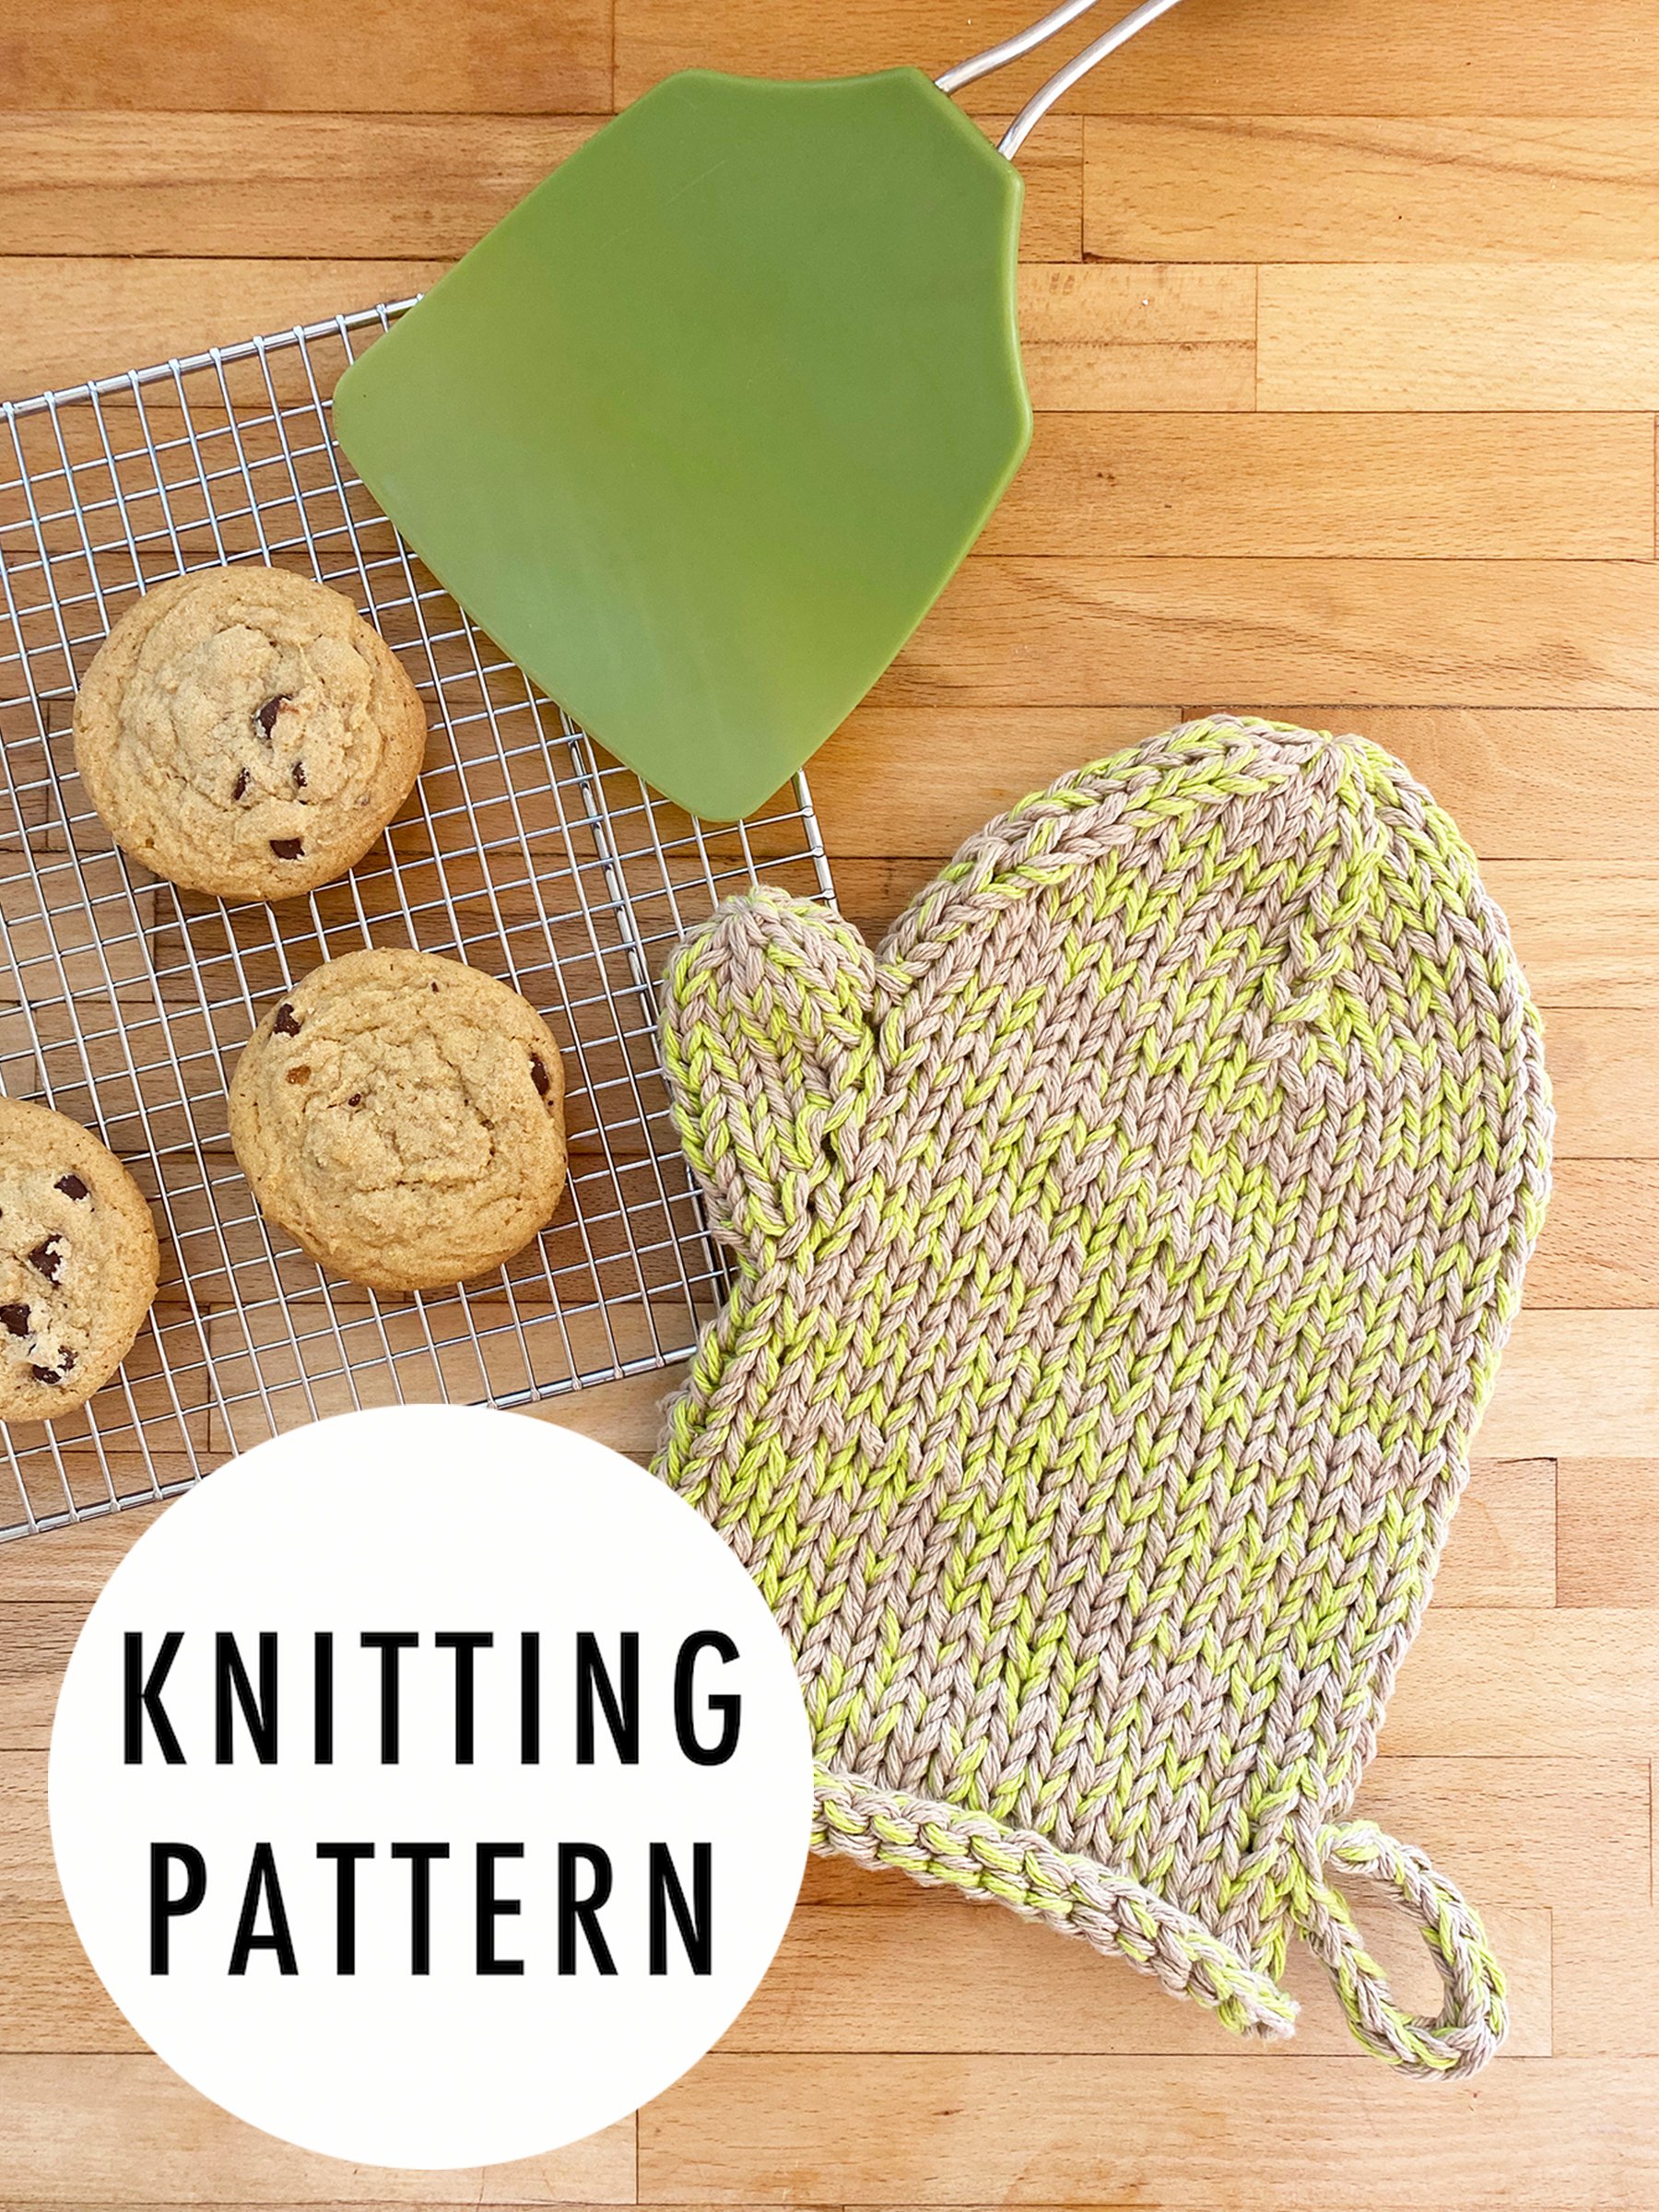
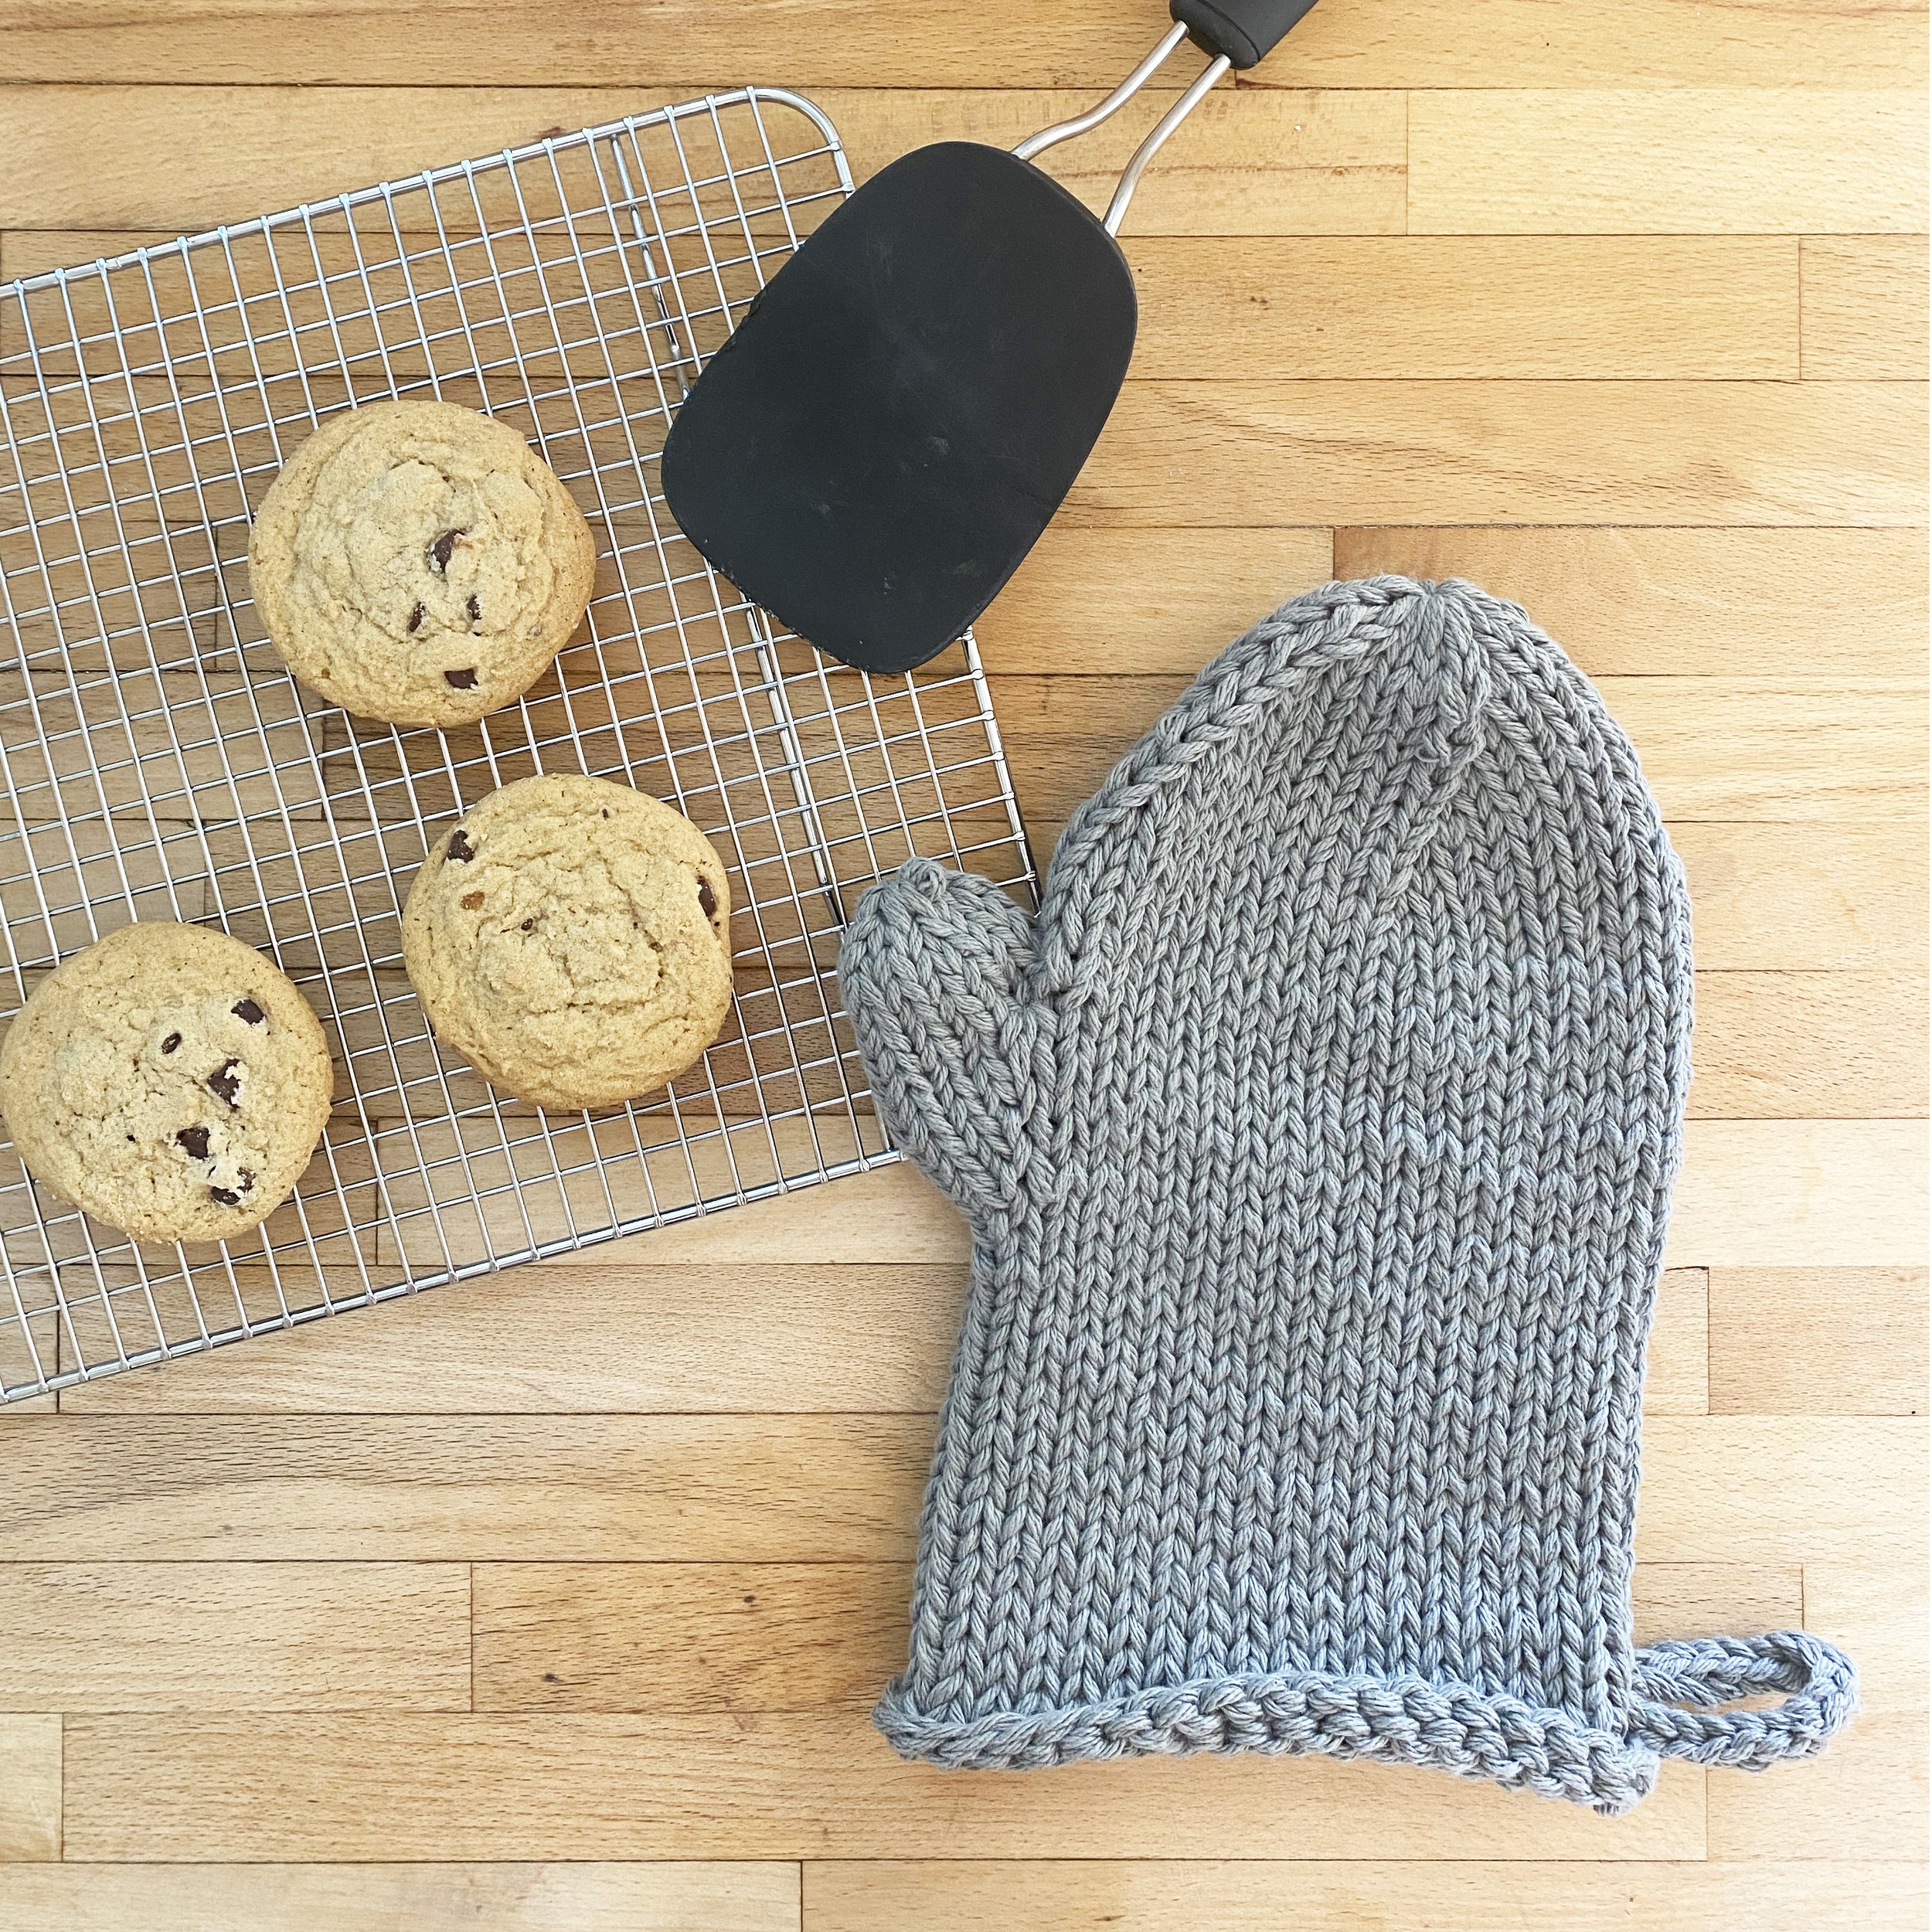
Worsted weight cotton held triple worked on small needles creates a dense and thick fabric that effectively shields hands and countertops from heat. Simple lines and finishing techniques elevate this simple knit into a luxe kitchen item perfect for cooks and entertainers. Pair with the Perfect Potholder for the ultimate handmade kitchen set
I love to see what you make! Share your project on Instagram using hashtag #ThePerfectOvenMitt and tag me @elisemade, or via email to elisemade@gmail.com
PATTERN NOTES:
Sizing
Finished dimensions: 11x7” (28 x 18cm)
Yarn
Worsted weight 100% cotton, held triple (meaning you will need three separate balls of yarn to work with, or pull a strand from both ends on one ball)
Recommended: Lily Sugar’n Cream Super Size
113g/4oz, 184m/200yds
Sample 1:* 2 strands Ecru, 1 strand Hot Green
Sample 2:* 3 strands Overcast
Yardage
175-200 (total of three strands together)
Note: two balls of super size will make one mitt + 2 potholders or 2 mitts
Needles
US 8 (5mm)16” circular and/or DPNs for finishing
Gauge
On US 8, 9.5 sts and 15 rows in stockinette in the round = 4”
Tools
BOR marker, two stitch markers, stitch holder or waste yarn, tapestry needle for finishing
Key
B/O – bind off
C/O – cast on
K – knit
K2T – knit 2 stitches together; single right-leaning decrease
M1L – make 1 left; single left-leaning decrease
M1R – make 1 right; single right-leaning decrease
PM – place marker
STS - stitches
Techniques
Knitting in the round, simple increases and decreases, picking up stitches, 2 stitch i-cord
Construction
Mitt is knit in the round from the bottom up, working simple increases to create the thumb and simple decreases to shape the top of the mitt. Stitches are picked up from the body of the mitt to finish the thumb in the round. Stitches are picked up at the bottom of the mitt to make an i-cord loop.
