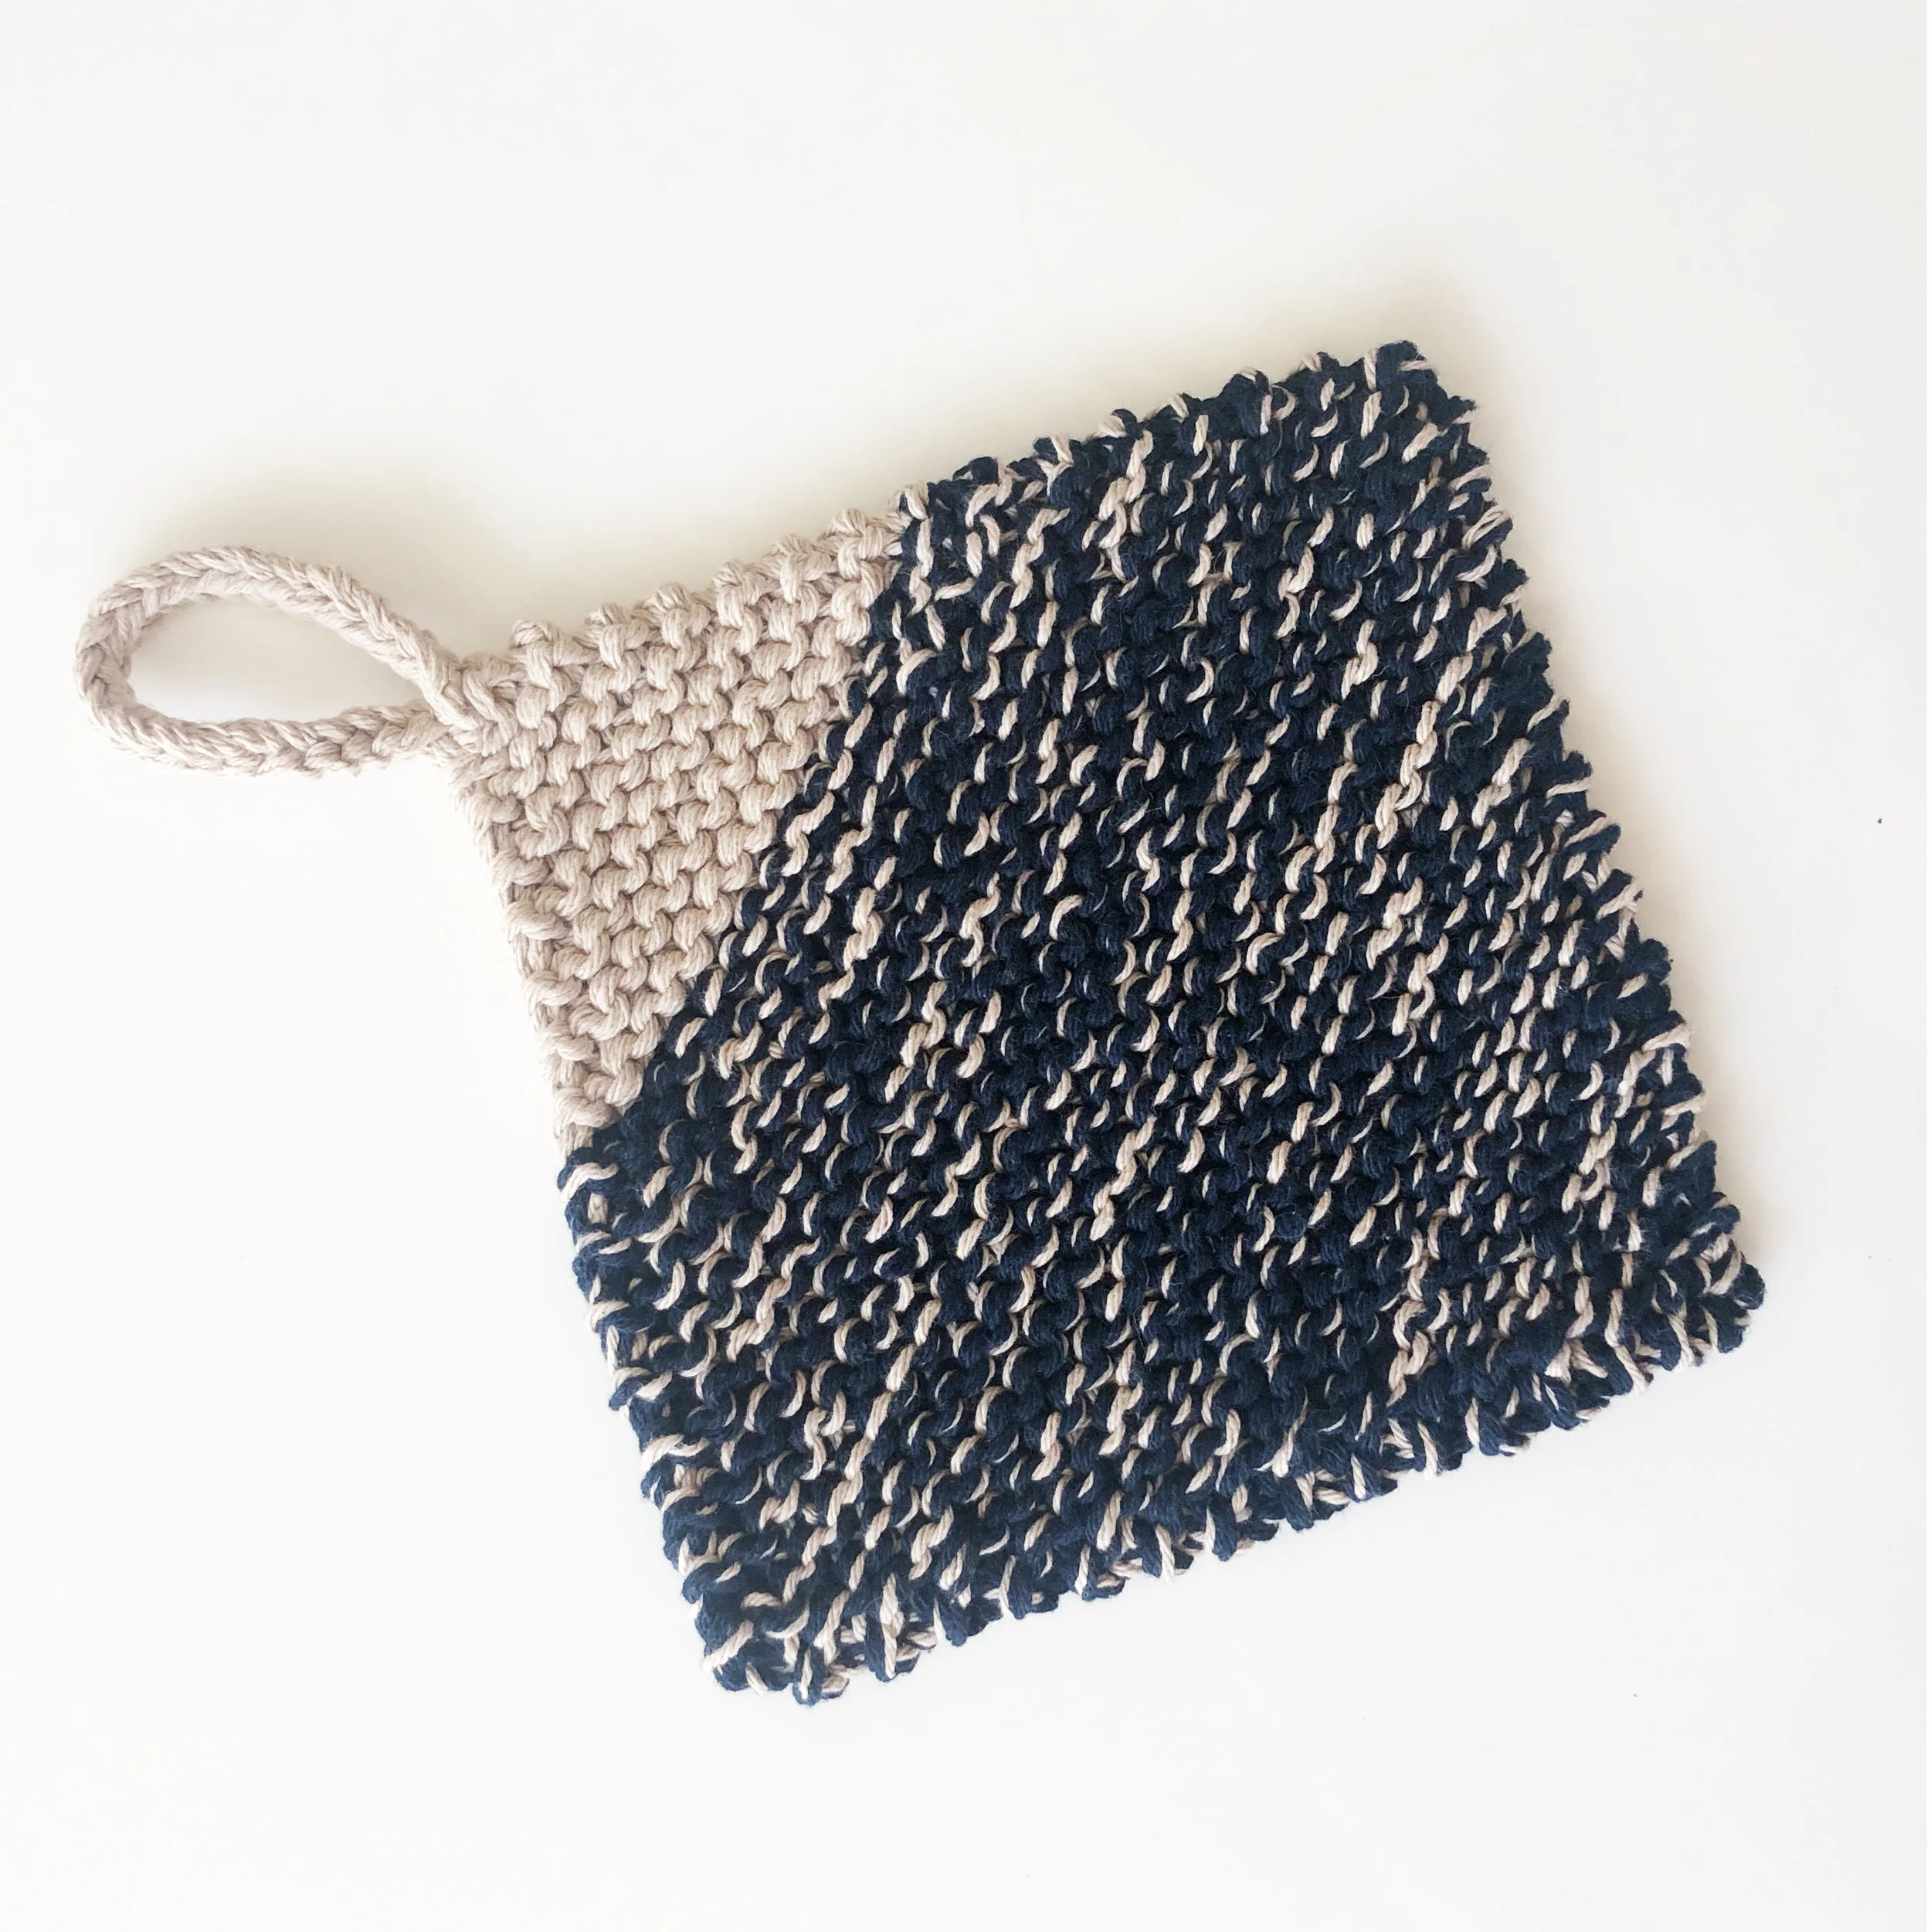
DIY: The Perfect Potholder Pattern
Introducing: The Perfect Potholder
Maybe it’s just me, but I am always looking for ways to add knitting and knit items into my daily life. And when people think about knitted items for the home, the last thing I want them to think of is “Grandma’s house.” No shade to the grandmas out there, but I wonder a lot about whether non-knitters truly realize how cool knit items can be.
So back in 2017 when I designed a knit potholder for my own kitchen, I wanted to create something that looked really luxe and modern, like something you’d find in an upscale boutique. Some simple cotton yarn and a little leather later, I became obsessed. By combining 3 strands of worsted weight cotton and using smaller than usual needles, the resulting garter stitch fabric is thick, squishy, and incredibly durable and heat-resistant. I had never cut and sewn leather before, but figuring it out on my own was surprisingly easy.
I have had the pattern ready now for a few weeks, a bit afraid to release it because of it’s so simple. But the truth is, this is just an awesome potholder. And if you like to cook and/or entertain, you’ll use it all the time. It’s such a different look than what is widely available in stores, and just as effective in protecting hands and countertops. These potholders are so beautiful that they can go from the kitchen straight to the table under a hot serving dish, and are guaranteed to garner compliments from your dinner guests.
The best part is that it’s a lightning-fast knitting project that you can whip up in an hour or less, guaranteed. With two elegant finishing options to suit your tastes, you will want to make a set of these for everyone you know.
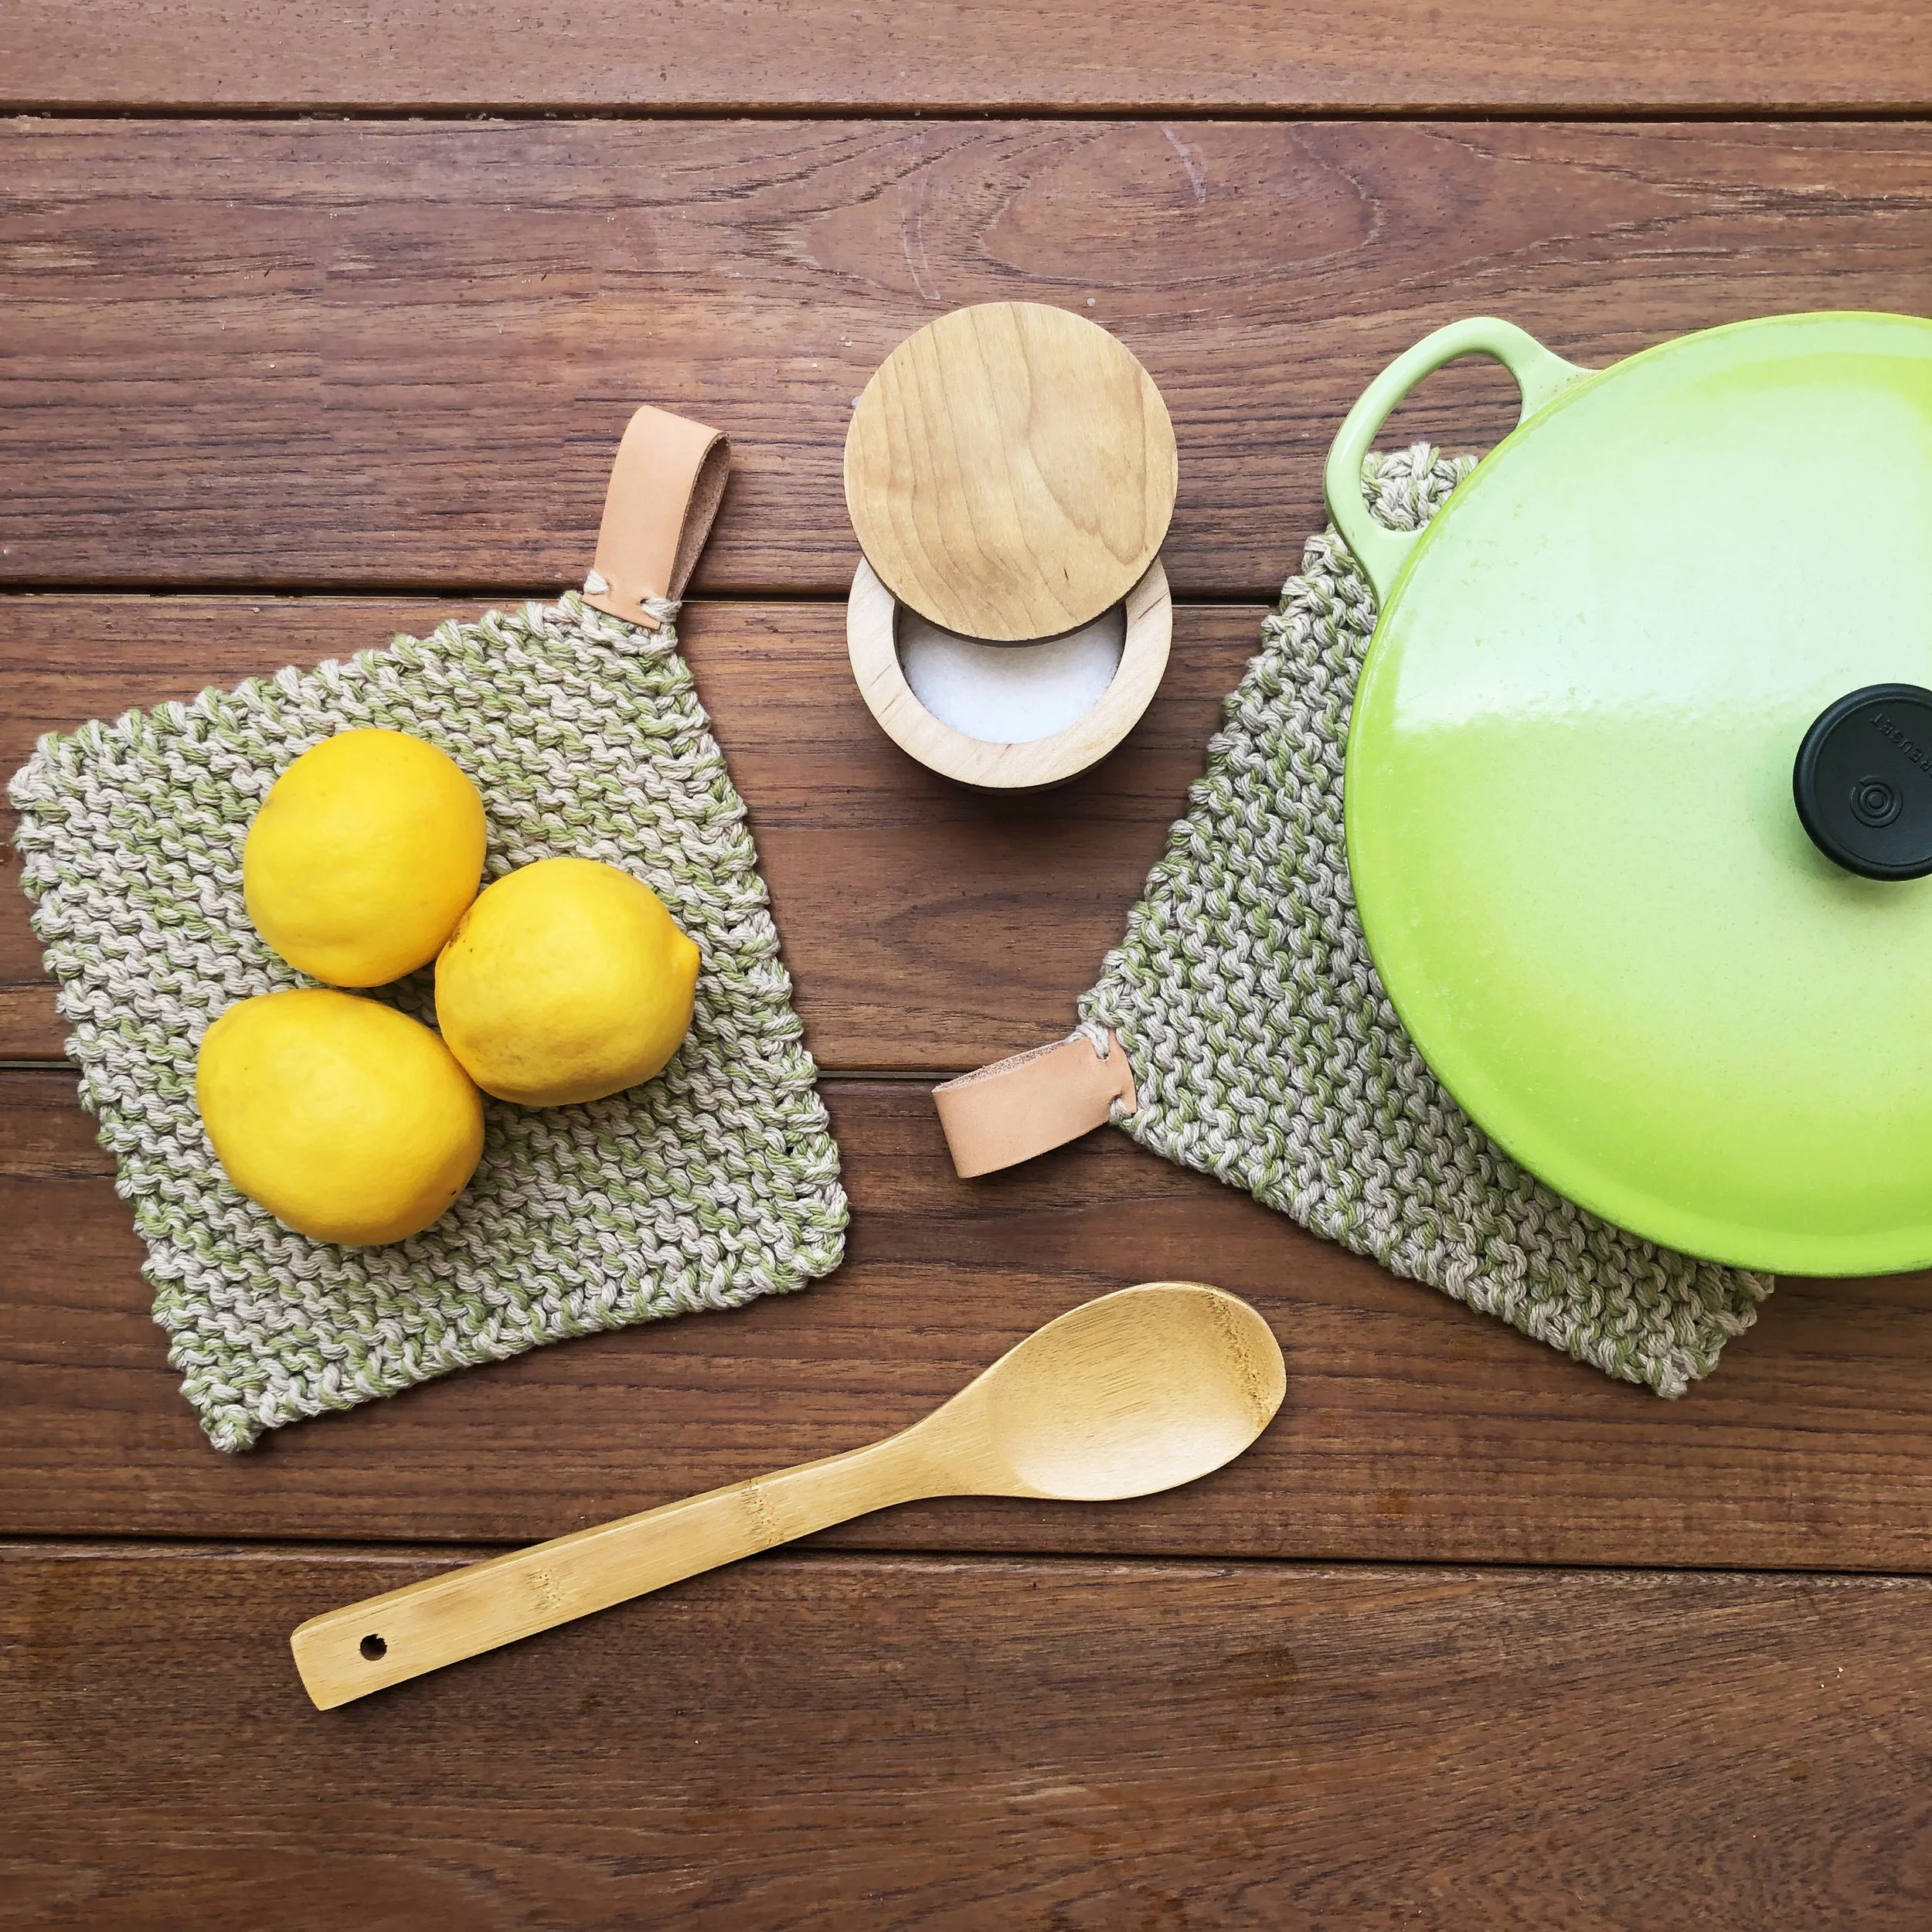
Leather loop finishing option
I-cord loop finishing option
get the pattern here
Yarn and Color Combinations
I like to make my potholders using Lily Sugar’N’Cream cotton yarn. I love this yarn for a few reasons: it’s stocked at every Michaels and JoAnn’s, comes in a huge variety of colors, and costs around $2-4 a skein. It’s 100% cotton, and it’s a hard-working yet soft yarn that washes and wears incredibly well for the price.
I also love Bernat Handicrafter DeLux cotton yarn. It is slightly nicer than the Lily Sugar’N’Cream and available in a larger skein, but it’s only available in a very limited color palette, a little harder to find (JoAnn’s is your best bet), and is also more expensive. That being said, there is a gorgeous golden mustard yellow and olive green that you should not be sleeping on.
Since the pattern calls for using three different skeins of cotton together to create a bulky weight yarn, the color combination options for this pattern are seemingly limitless. That being said, this project would look stunning in a solid color!
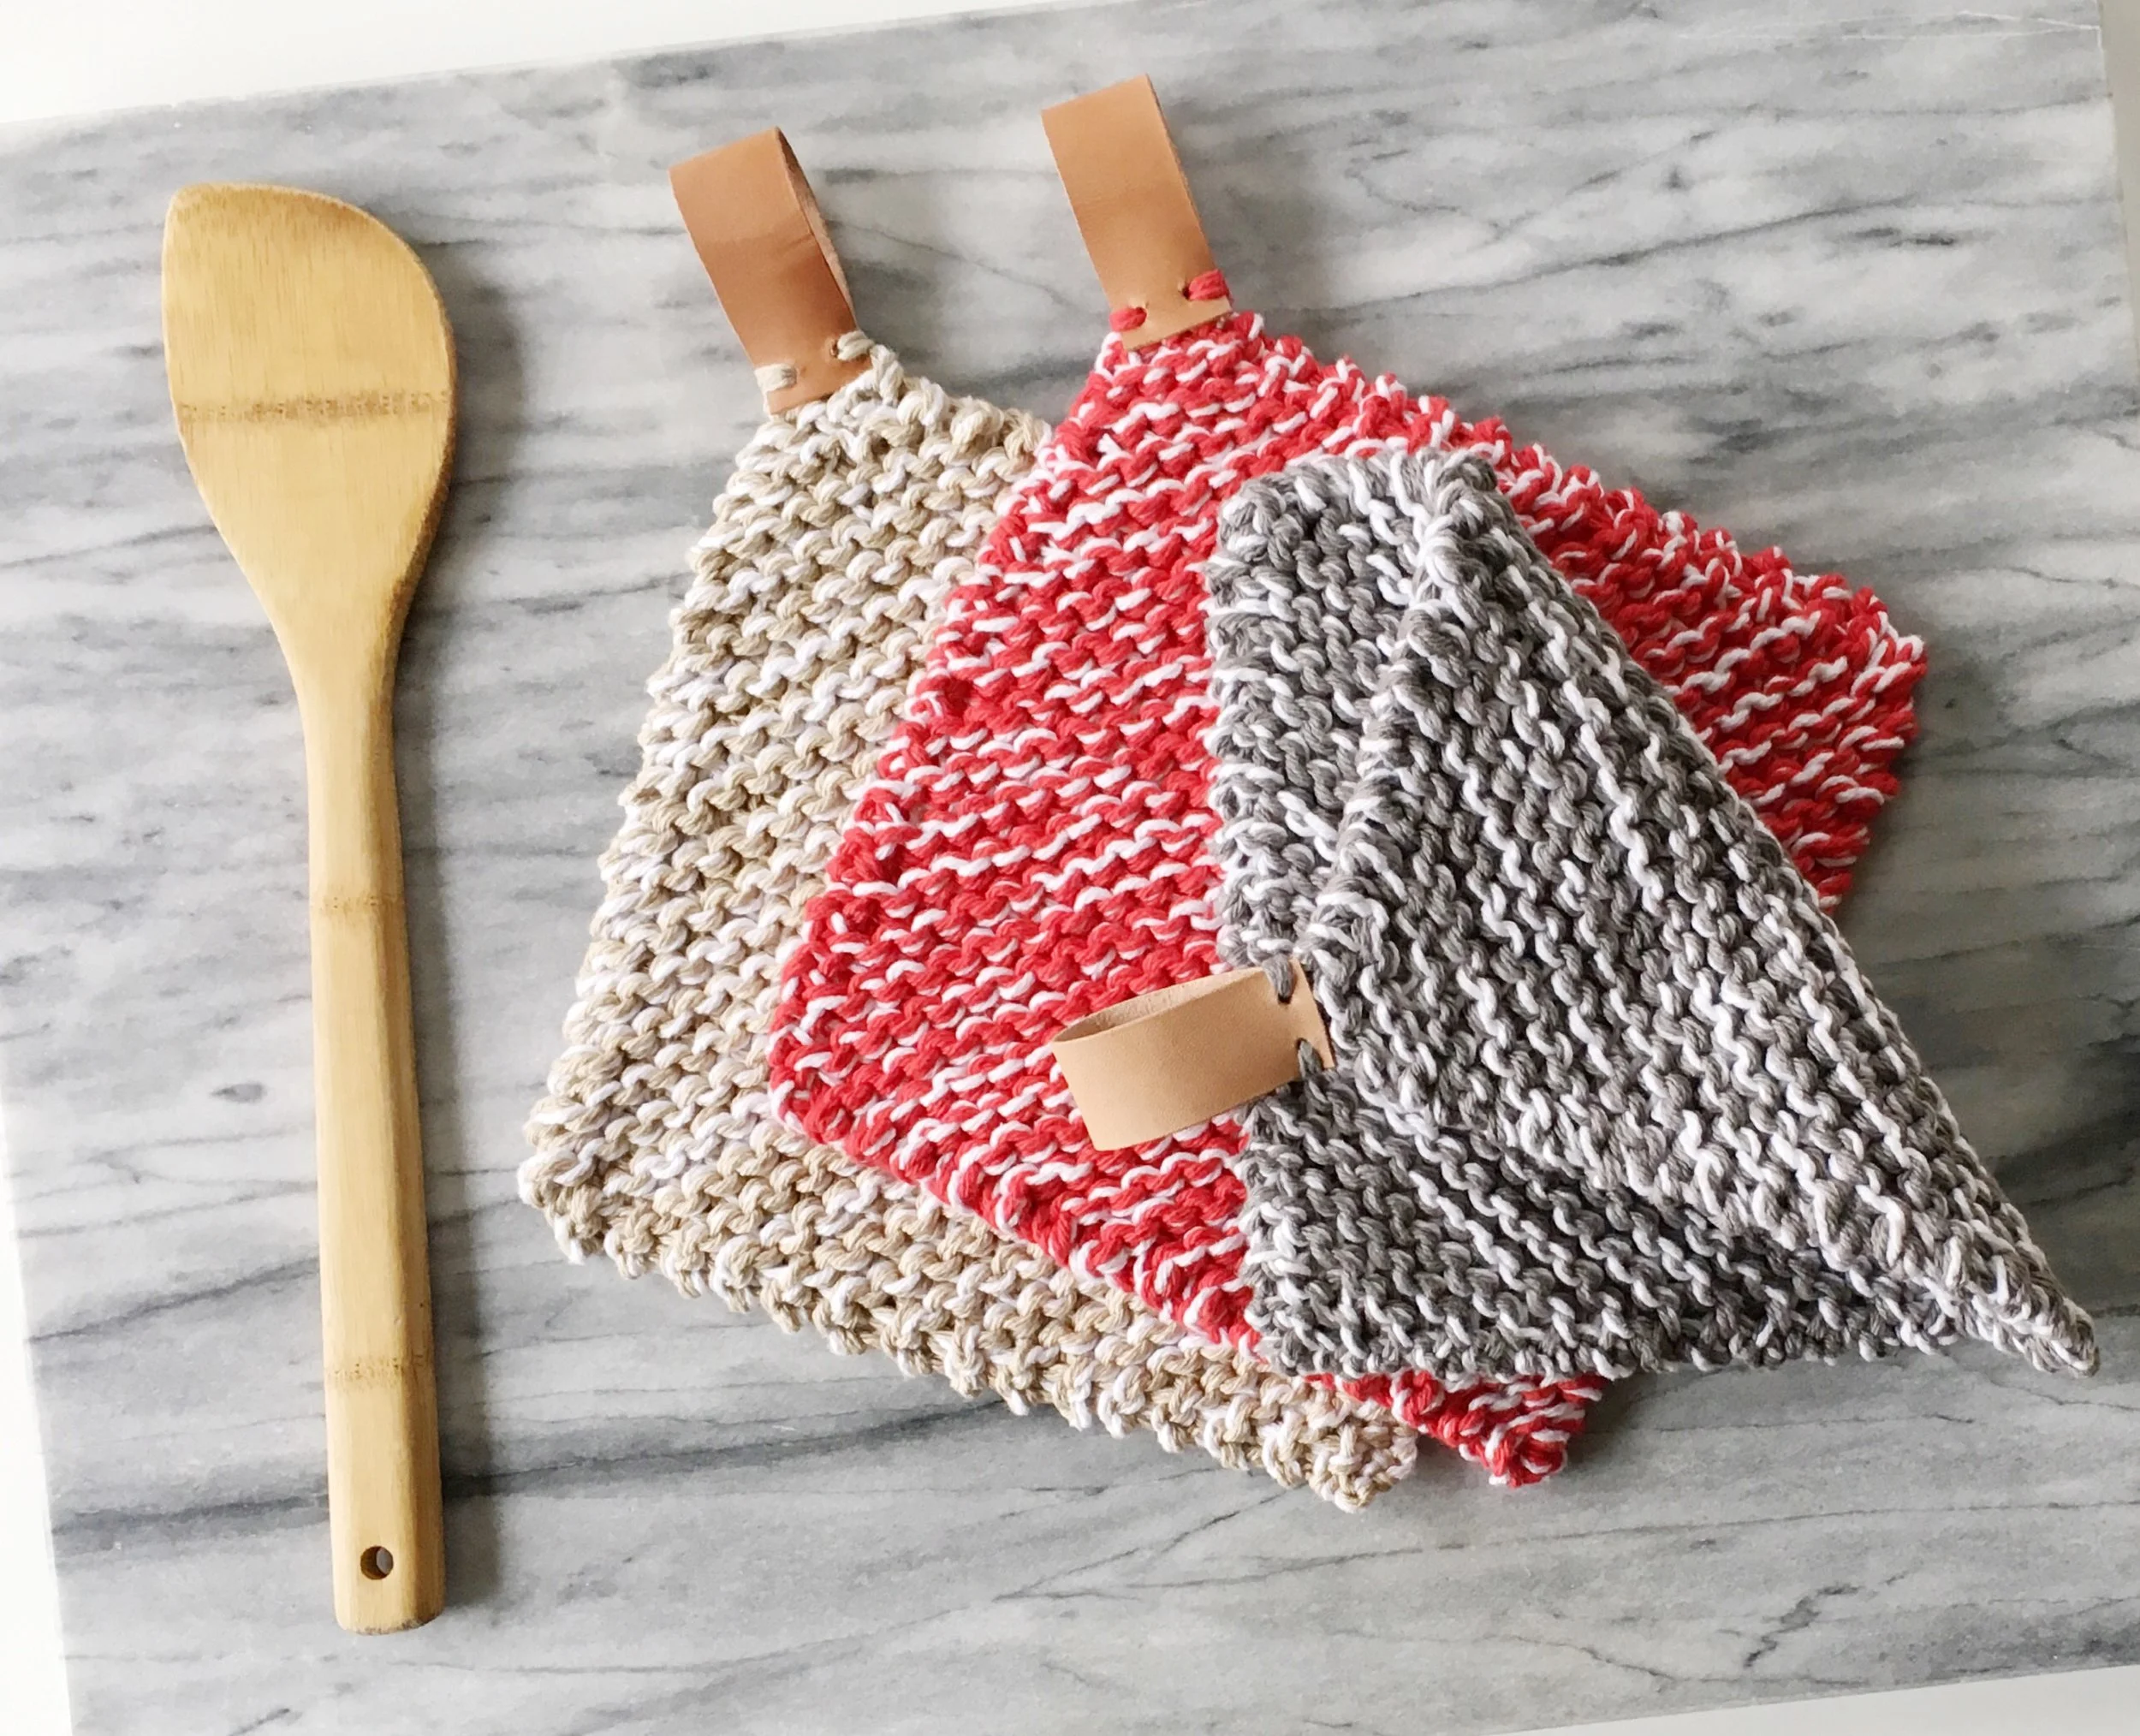
When I first designed this potholder, I made a set of samples using two strands of a contrast color and one strand of white, creating a cool modern marl:
For the pattern samples, I wanted to make a super contemporary version with the leather loop (one I will eventually claim for my own kitchen) and try a different approach to the i-cord version.
For the i-cord version, I used two strands of “Bright Navy” and one strand of “Jute,” transitioning to using all three strands of Jute at the final corner and for the finishing cord.
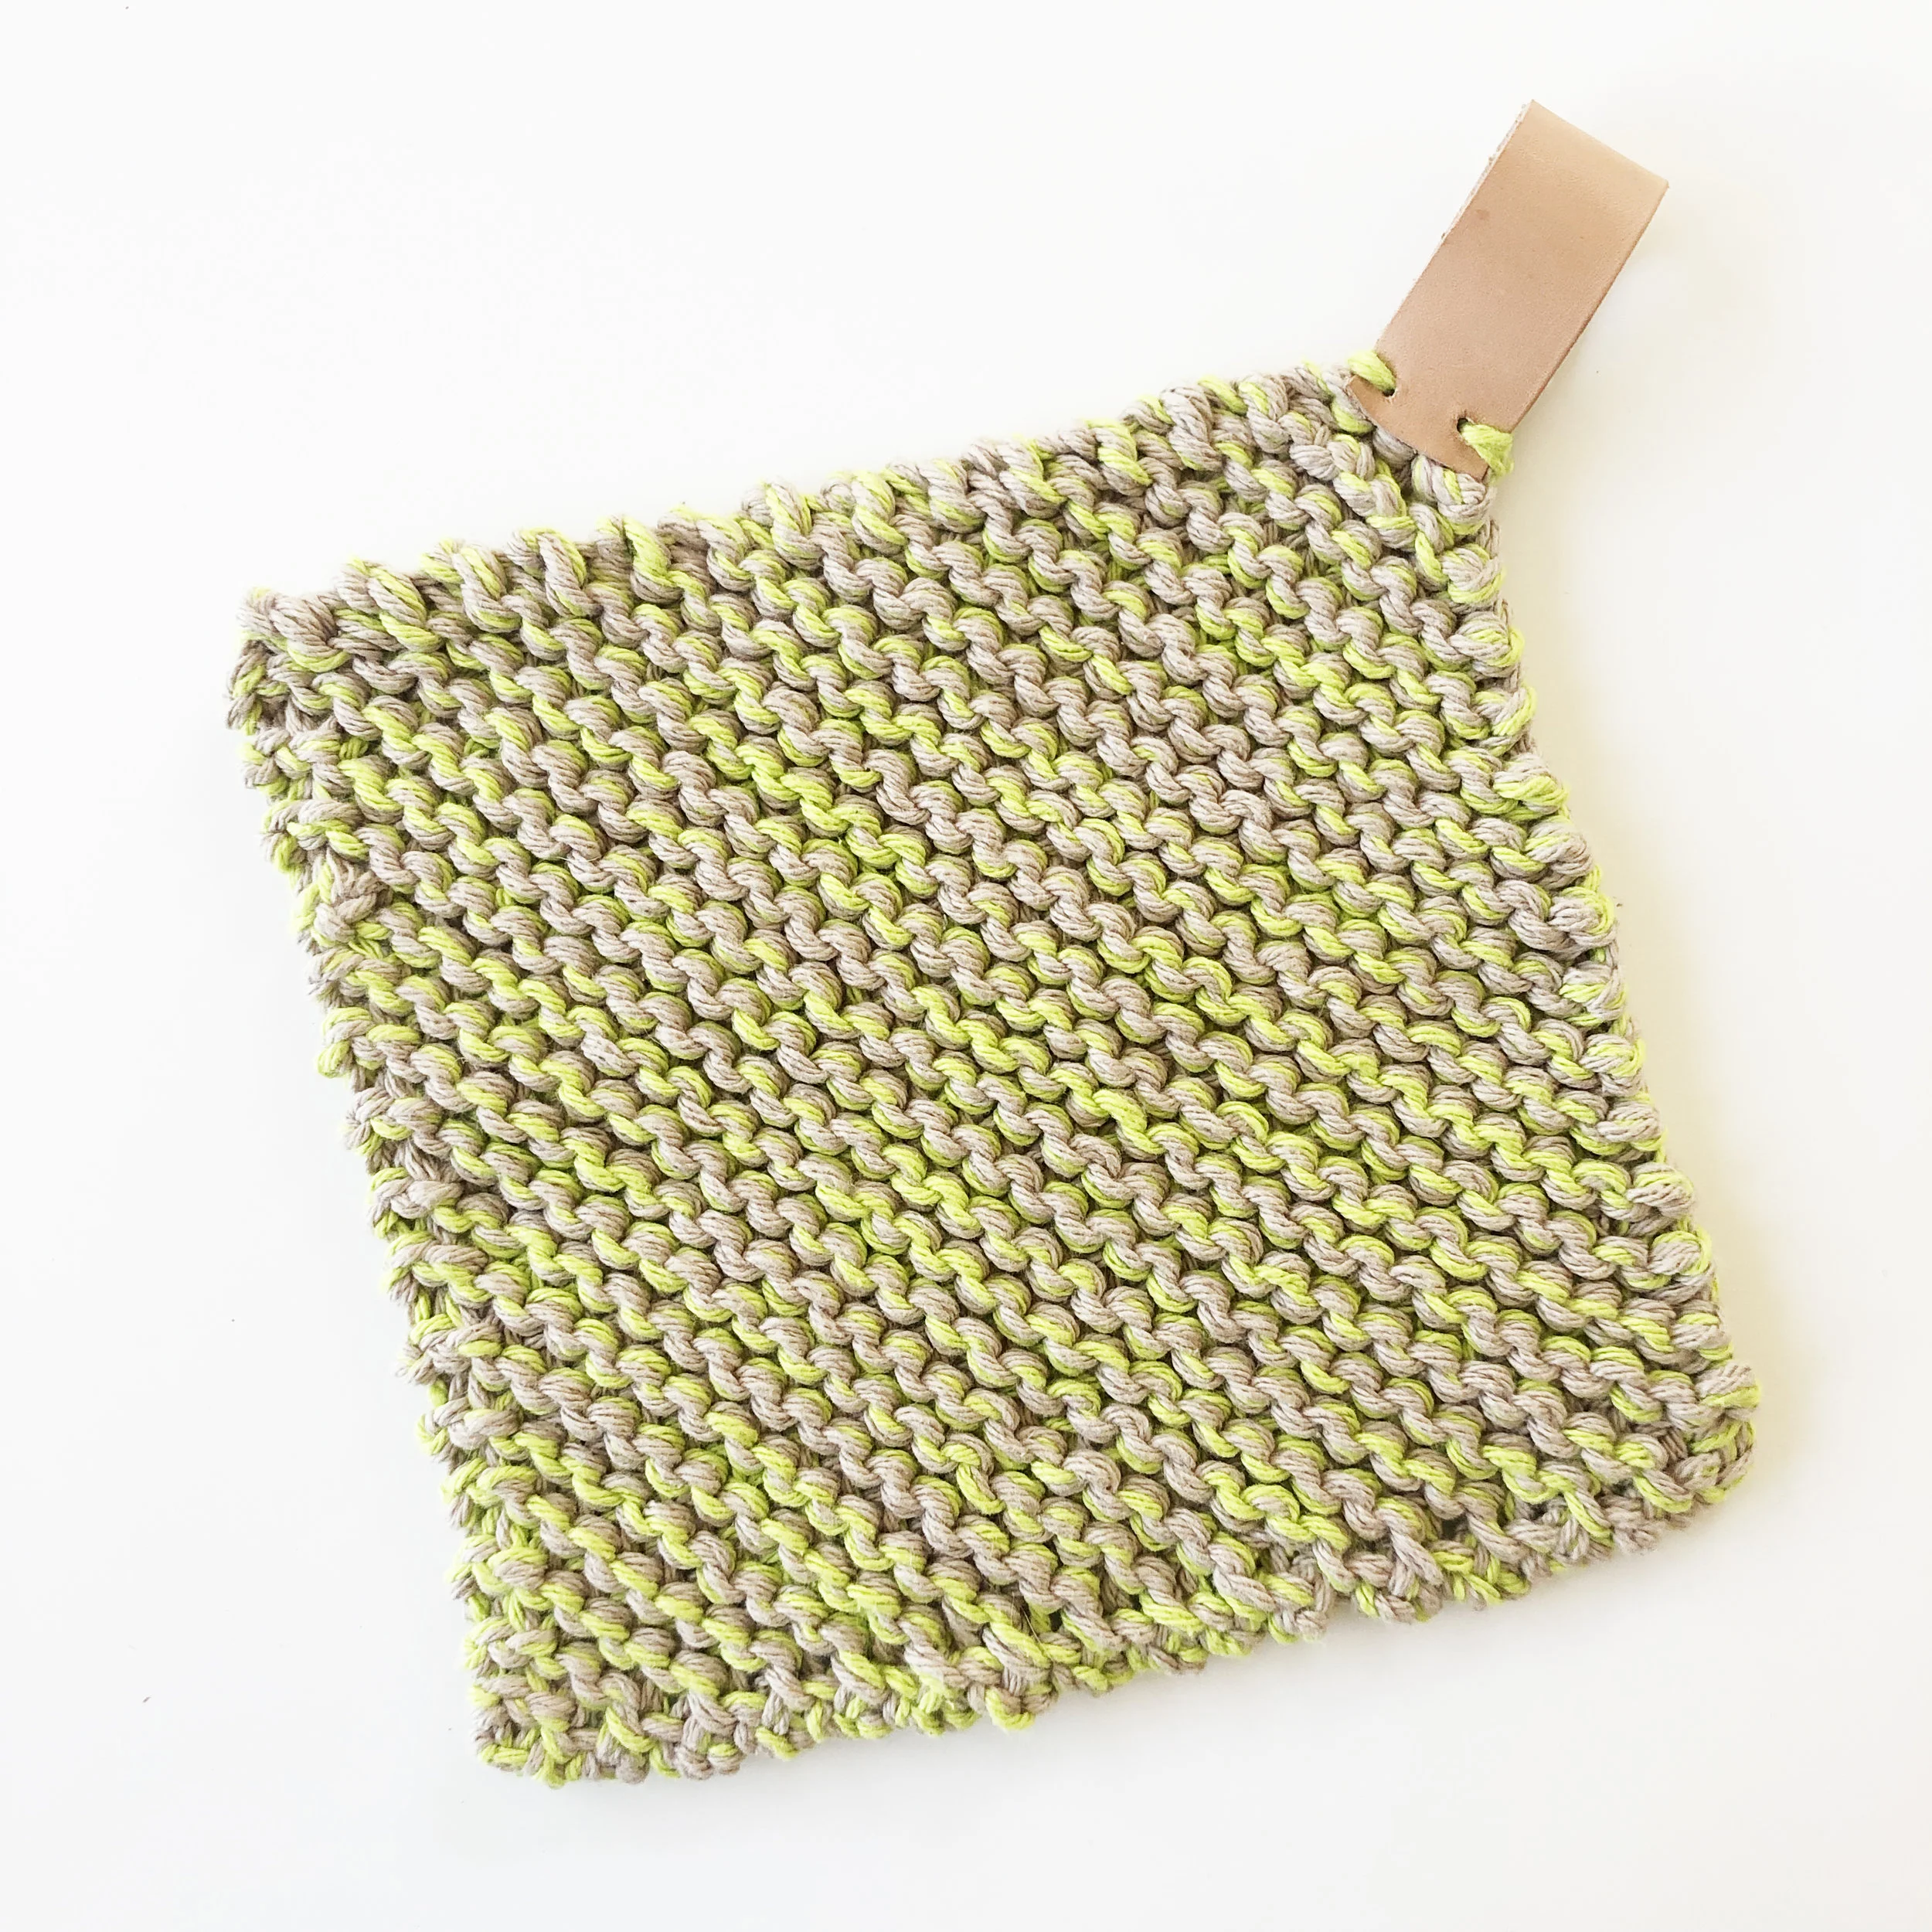
For the leather loop sample, and to match my kitchen color theme, I used two strands of Lily Sugar’n’Cream in “Jute” and one strand in “Hot Green.”
Basically, you can use whatever and however many colors you like to create the potholder of your dreams. I can’t wait to see what you put together!
LEATHER LOOP: MATERIALS LIST AND RESOURCES
While the leather loop and necessary tools can seem intimidating, I promise that materials are available and affordable, and the technique is as simple as banging a hammer. Here’s what you’ll need to make the leather loop:
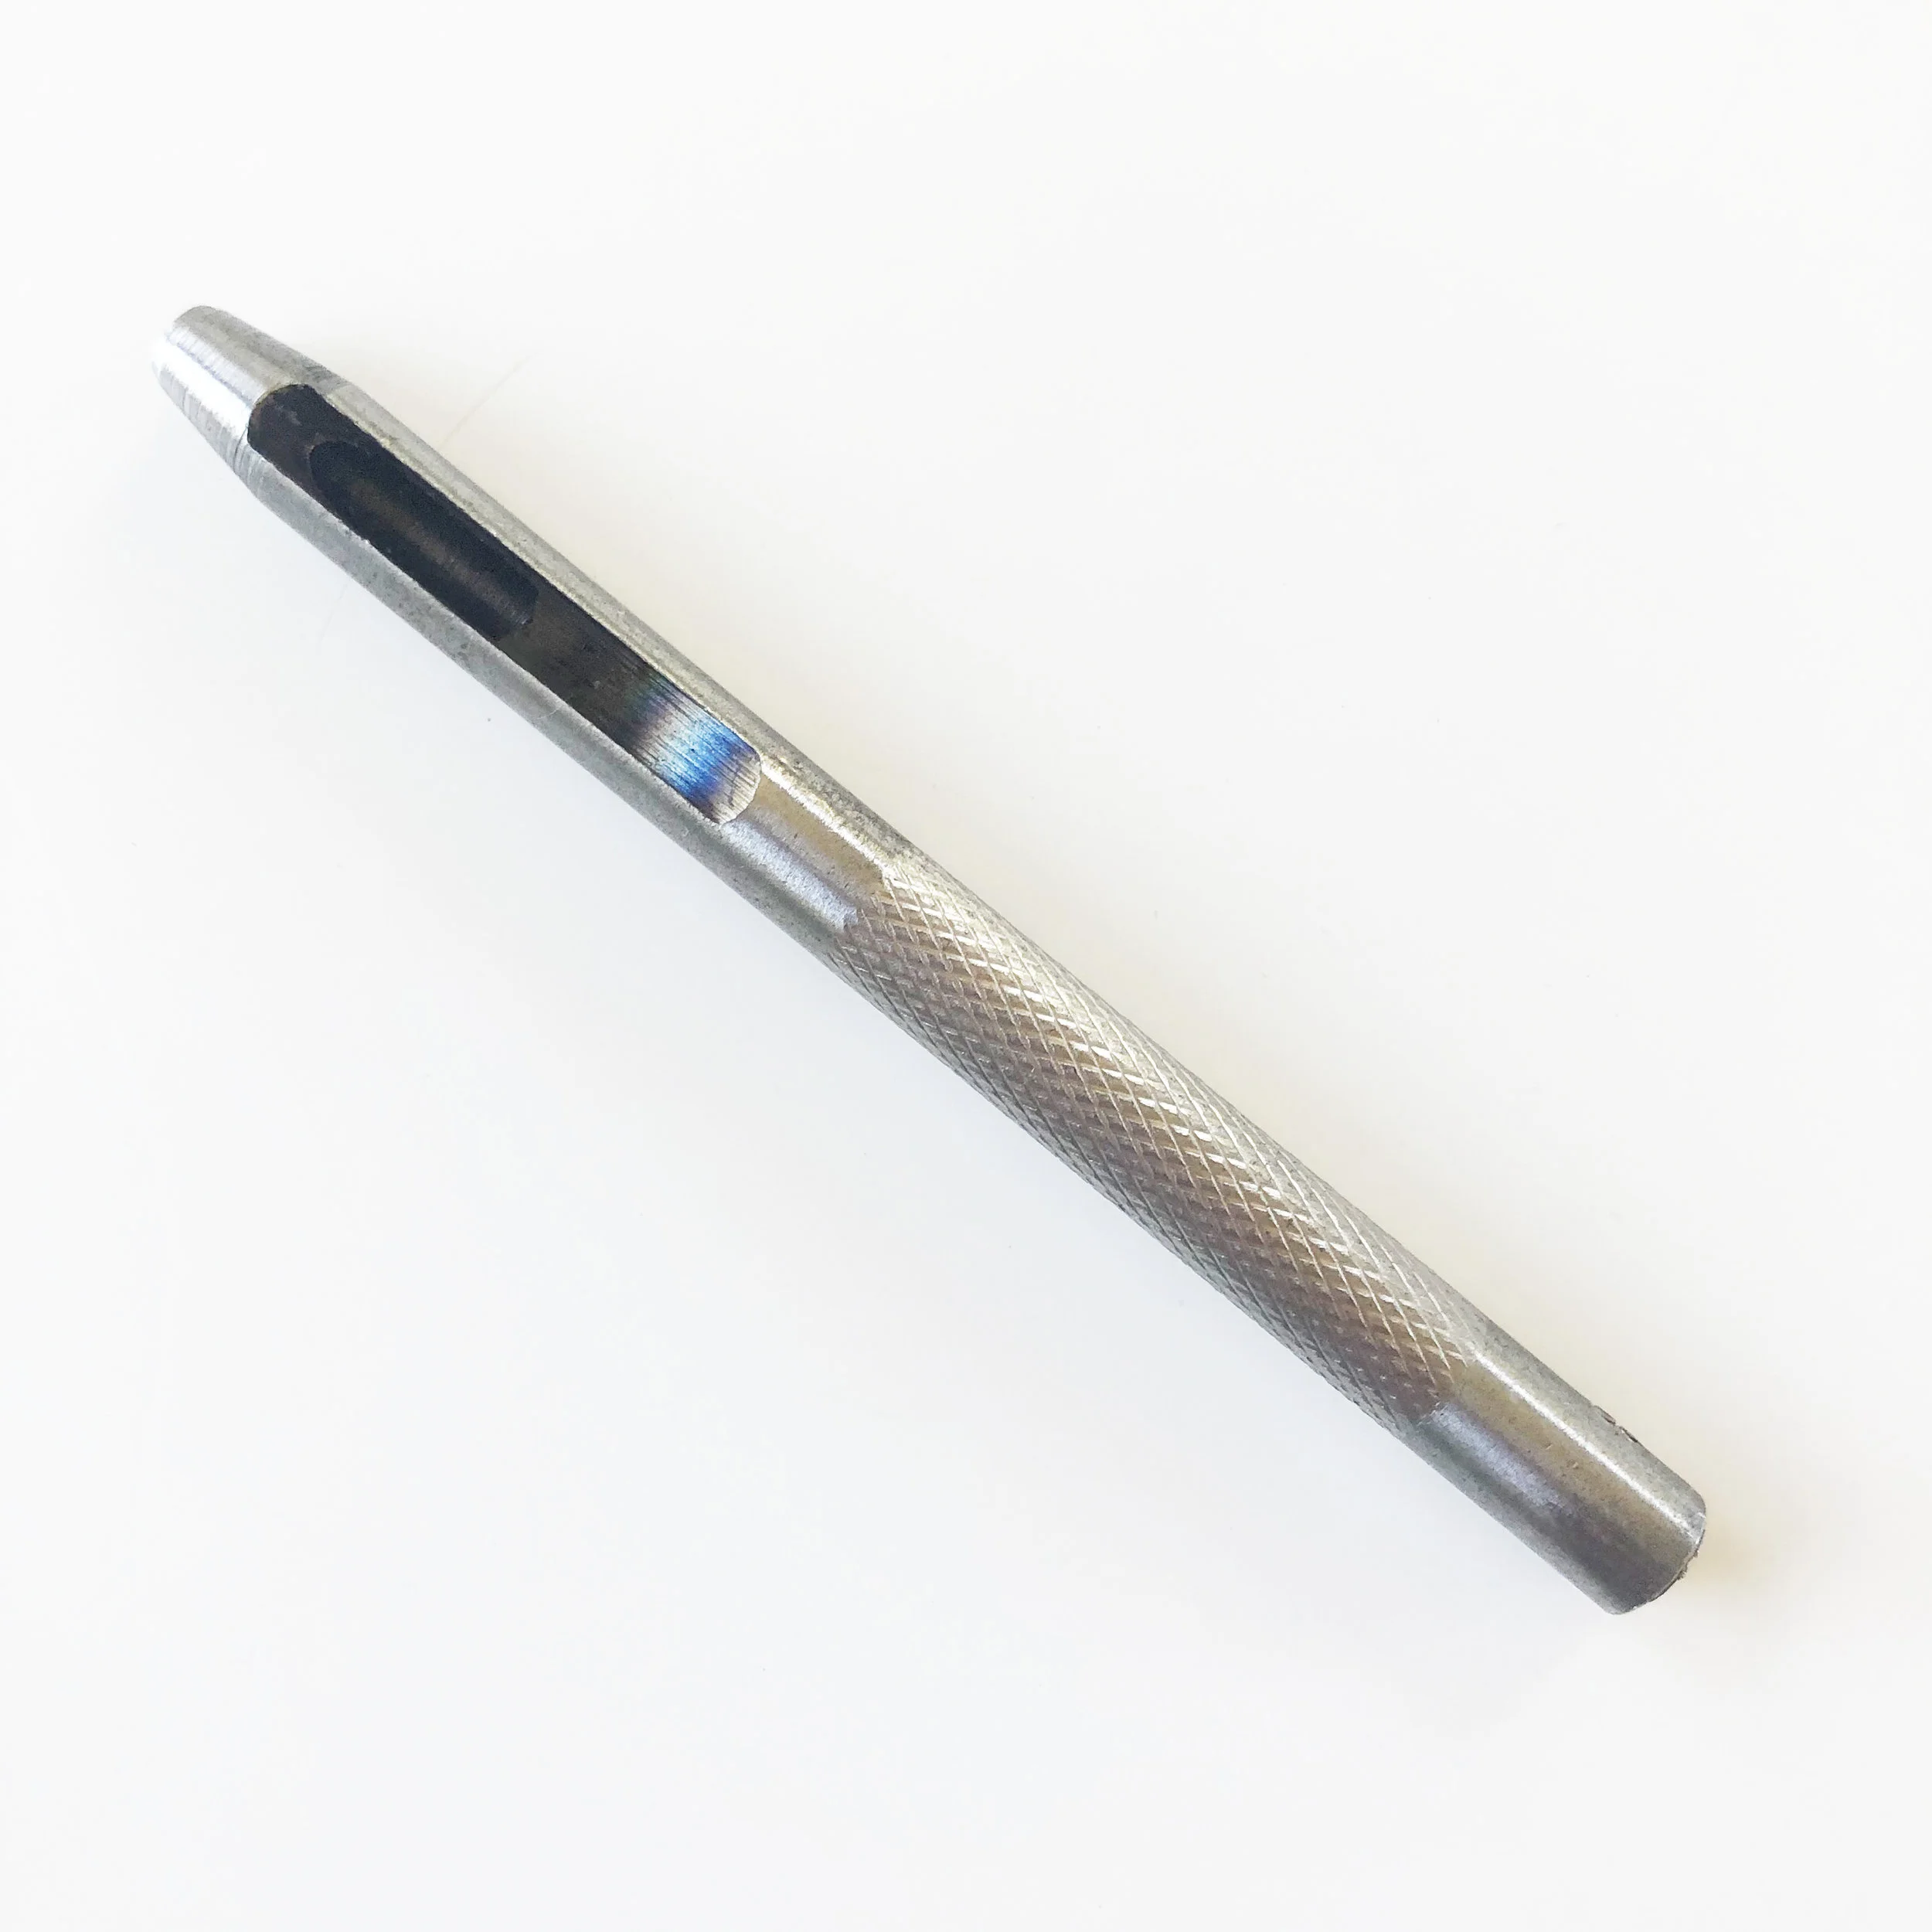
1/8” hollow leather punch
Soft leather
Now, what the heck are these things and where do you find them?
For starters, a hollow leather punch is a short metal rod with a hole on one tapered end. When you place the tapered end over a hard material and strike the opposite end with a hammer, it punches a perfect hole. They come in various diameters depending on how large of a hole you want to punch, and typically come in sets of different sizes. In this case, you will need a punch with a 1/8” diameter.
(There are also leather punches that look like scissors or pliers with a large spoked wheel instead of blades. These are called revolving punches, and while I recommend the hollow punch because it’s what I’ve worked with, as long as you can find one in a 1/8” diameter, I see no reason why they wouldn’t work for this project.)
Finding a leather punch is pretty much as simple as going down to your local hardware store, or your nearest Home Depot. I’ve even seen some sets at Michaels (check them out here).
They are also widely available on Amazon. Here are some sets that I think look pretty awesome (I particularly recommend the one that comes with the cutting mat):
Now, soft leather. There are lots of different options! I have definitely seen decent faux leather trim at Michaels, and you can buy faux leather by the sheet and the yard at JoAnn’s. When I made my original samples I found a really amazing bulk lot of real leather sheets for a really great price on Etsy. My first recommendation would be that you support a fellow small business owner on Etsy, especially because there are so many great options at really, really great price points. Look around for scraps that are billed as “soft” but appear like they have a bit of structure (not too thin and flimsy). The leather I use is approximately 1/16” thick.
Click here to search for tan leather scraps on Etsy
(Note: you are N O T restricted to tan leather. I encourage everyone to go for the gold and put together something that really speaks to you!)
You can also find bulk leather on Amazon, because of course you can! Here are some options that I found that look great:
I-CORD LOOP FINISHING
If leather isn’t your thing and/or you don’t want to bother with extra materials, the pattern includes instructions on how to finish your potholder with a thick loop of i-cord. It’s super quick, easy, and looks amazing!
If you have never knit i-cord before, check out my simple video tutorial here:
Pattern Details
Yarn:
3 x balls of worsted weight 100% cotton yarn, with at least approximately 34 yards (approximately 102 yards total)
Recommended: Lily Sugar’n’Cream, Bernat Handicrafter DeLux
Yardage Notes:
This pattern is made by using 3 separate strands of cotton yarn together. You will need 3 separate balls with at least 34 yards each to complete this pattern.
Needles:
Size US 8 (5mm) needles
Two (2) size US 8 (5mm) double-pointed needles (for optional i-cord loop finish)
Tools:
Tapestry needle for finishing
Additional Tools to make leather loop:
Soft Leather
1/8” leather punch
Hammer
Ruler
Sharp scissors
Gauge:
15 stitches x 15 rows in garter = 4”
Finished Dimensions:
Measures approximately 8.5 x 8.5”
Key:
K - Knit
KF&B - Knit into the front and back of stitch (1 stitch increased)
K2T - Knit two stitches together (1 stitch decreased)

